One basic activity is to process a square on a tube shaped workpiece utilizing a square collet block. Here is an illustration of how to process a/2″ square on a 3%4″ distance across workpiece.
- First decide profundity of slice for the pads to be machined. Take away the ideal distance across the square from the earliest starting point measurement. So 34-V2 = V4 or 0.250. A big part of that sum should be machined from each side, so 0.125″ should be eliminated at four areas 90 degrees separated.
- Mount the 3%”diameter workpiece in the square collet block.
- Mount the square in a processing tight clamp. Since the square should be eliminated from the tight clamp, pivoted, and remounted in the tight clamp, utilizing a workstop is useful.
- Mount a cutting apparatus in the shaft, at that point figure and set axle RPM.
- Position the plume with the micrometer changing nut against the stop so the apparatus is around 1/16″ over the workpiece, and afterward lock the plume.
- Position the apparatus for the ideal length of the level.
- Start the shaft.
- Raise the knee to ignite the instrument the highest point of the workpiece.
- Clear the device from the workpiece and set cut profundity with the knee. It is a decent practice to leave about 0.010″ to 0.015″ to check size prior to wrapping up.
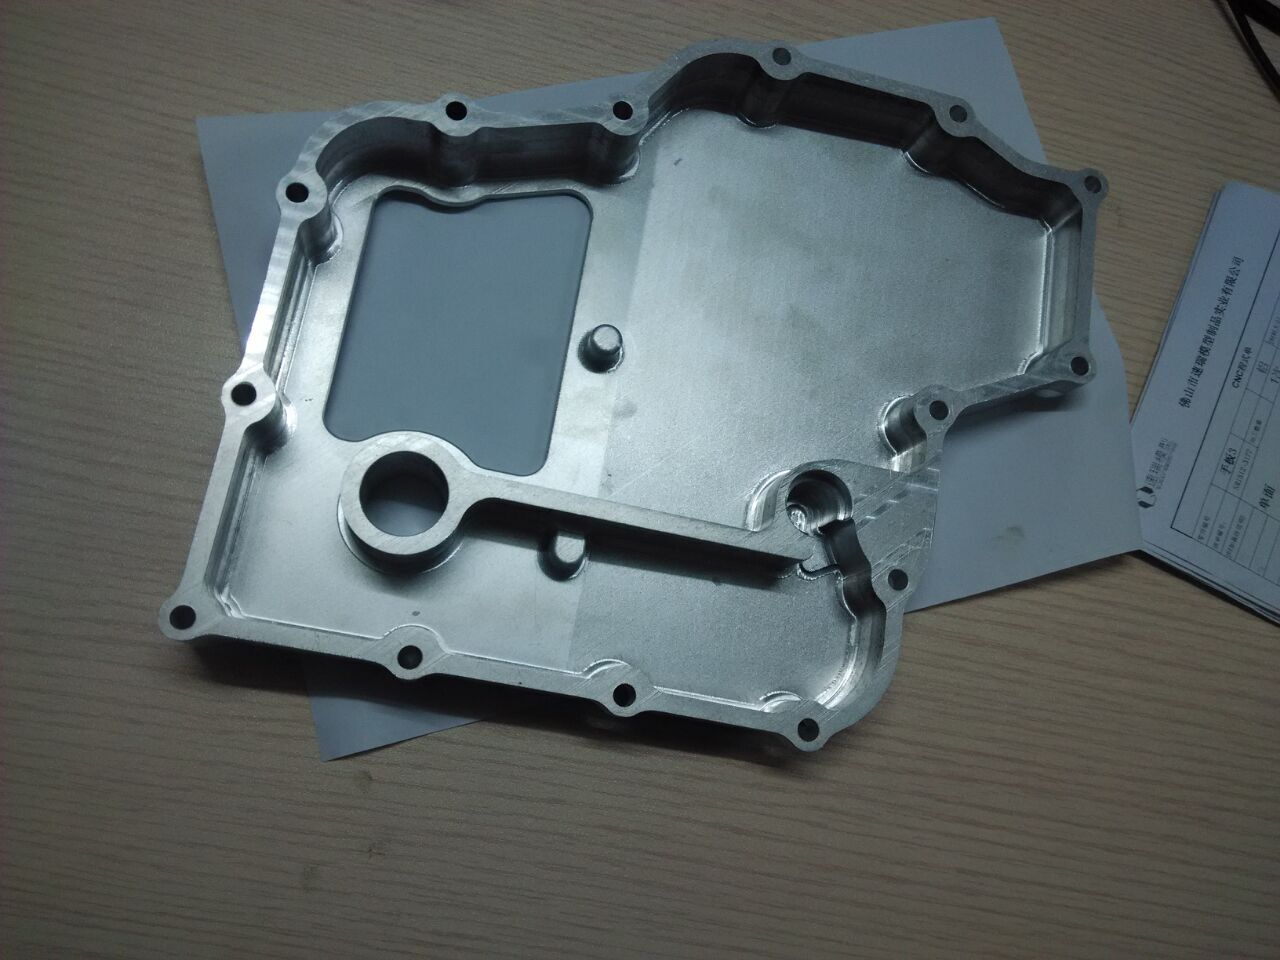
- Mill the main level as appeared in china precision machining oem parts.
- Stop the shaft.
- Remove the square, pivot it 90 degrees, and remount it in the tight clamp against the workstop.
- Mill the subsequent level as appeared in china high-precision tooling suppliers.
- Repeat the cycle for the excess two pads.
- Stop the shaft and measure the distance across the pads.
- Adjust profundity with the knee varying to plant to the ideal size.
- Remember that cut profundity will be one portion of the absolute size distinction. For instance, if the distance across the pads is 0.020″ over the ideal size, machine an extra 0.010″ from every level.
A hexagon can be machined utilizing a hexagon collet block by following similar advances.
 An ordering apparatus has a shaft that can be turned physically and afterward secured wanted positions. Situating the workpiece in this kind of apparatus is called direct ordering. An ordering installation regularly utilizes a three-jaw throw or a collet to make sure about the workpiece. Most can be mounted on a level plane or vertically. custom cnc machined precision machining titanium parts suppliers shows a collet type ordering installation. The ordering installation has a ring with certain number of indents around its perimeter. Regular quantities of notchesare 18, 24, 30, and 36. A few models can change the ordering ring, while others don’t. The ordering ring is picked dependent on the number of divisions should be machined on the workpiece. These divisions are dictated by number of highlights to be machined.
This article is from http://www.tinymachining.com/