CNC Precision Machining Company Setting a Work

The workpiece arrangement technique builds up a work counterbalance or beginning area for the WCS. AIll workpiece arranges for programming will be referred to from this beginning. This is set up by finding the work counterbalance or “move” from the MCS starting point to the proposed WCS birthplace.

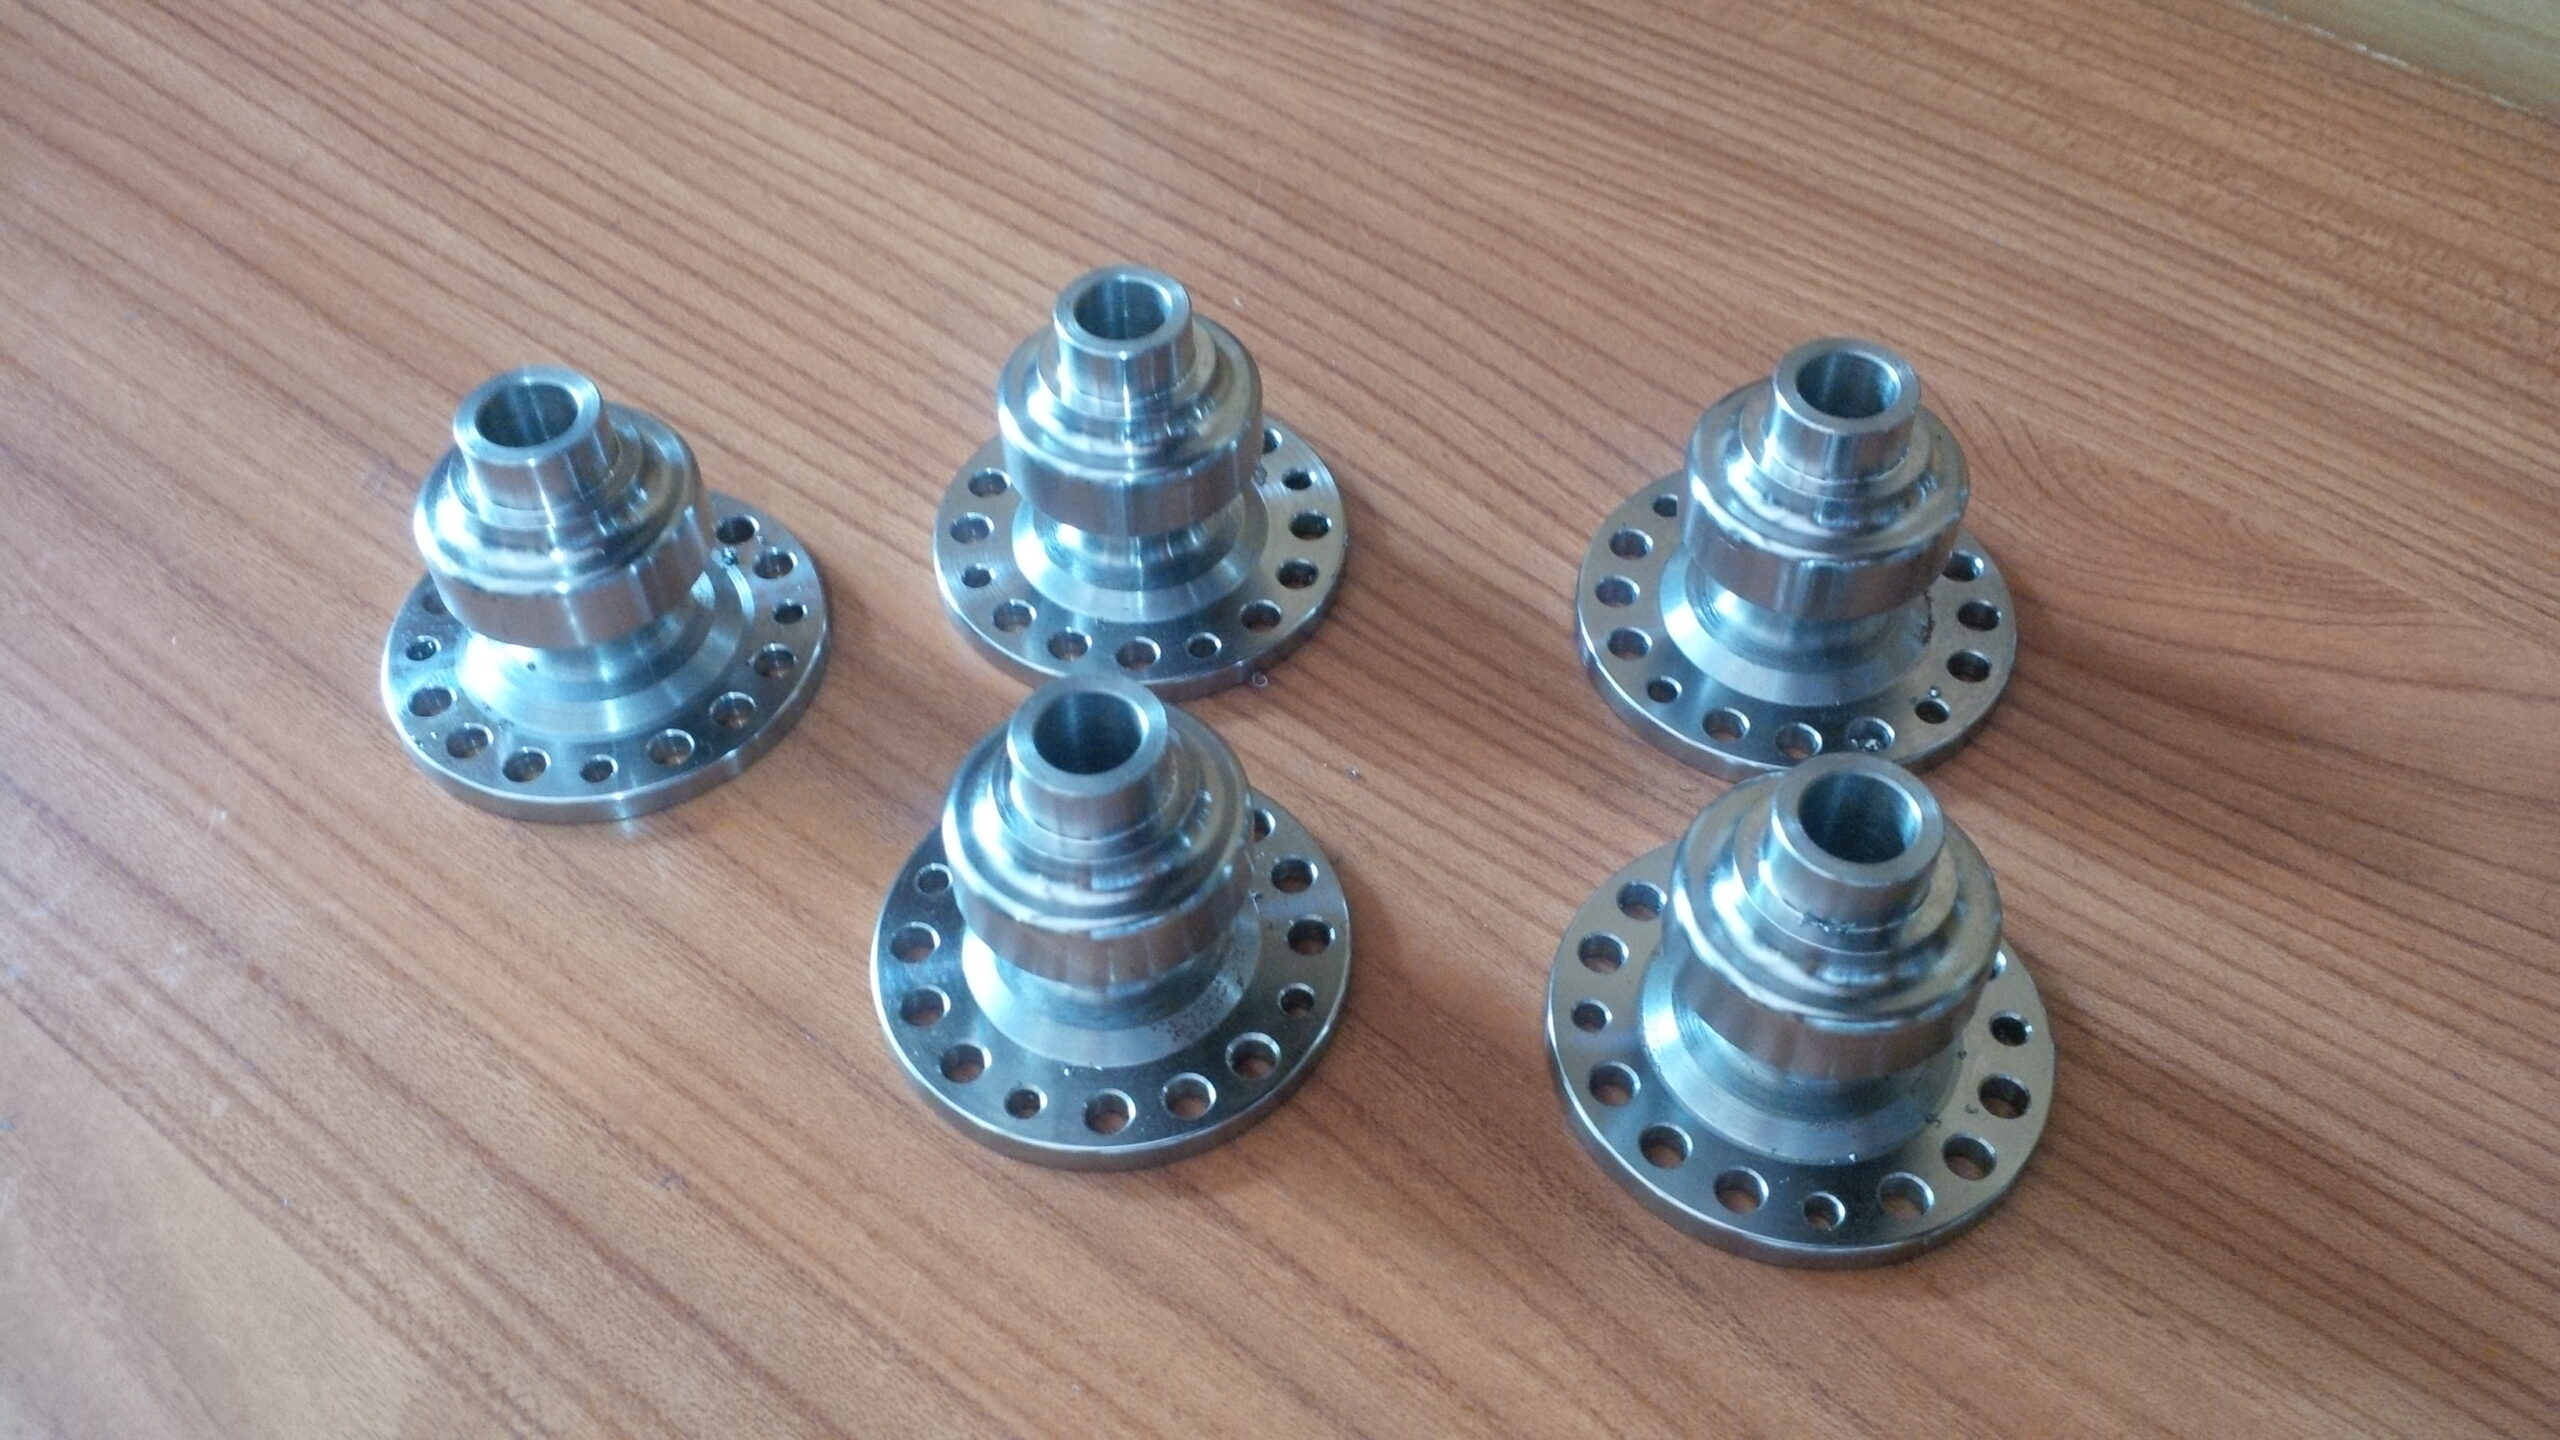
Review that the MCS never changes position. It is referred to at a similar position each time the machine is homed. Consider this point a perpetual reference point. Since the situation of this machine starting point never shows signs of change, yet the work cause changes with each new workpiece arrangement, the work balance for the part is characterized as a distance referred to from the MCS root. A few controls consider this counterbalance a workshift in light of the fact that it basically moves the machine inception to the area of the work beginning (or the other way around relying upon the machine). Carbon fiber cnc service factory shows an illustration portraying work counterbalance.

On turning machines, the workpiece will change long and position from one occupation to another and requires the cause to be reset in the Z-pivot for each new position. Notwithstanding, the middle line of the workpiece and the middle line of the axle hub are constantly adjusted, so the cause for the X-pivot stays as before from one occupation to another.

There are numerous varieties in the manner every maker’s machine is set up. The standards in the models portrayed next ought to apply to all machine controls.

Fundamental strides for setting a work balance:

  • The workpiece is introduced in the machine.
  • The turret is ordered to a confronting apparatus by utilizing the device change order.
  • The Z-hub is run to bring the confronting instrument close to the furthest limit of the workpiece.
  • The axle is begun utilizing the legitimate M3 or M4 code in MDI mode.
  • The part is looked by running a confronting device across the work utilizing the handwheel until the face is tidied up (no surface left un-machined).
  • The turret is run to a protected position and filed to a vacant position.
  • A gage block is held against the essence of the part.
  • The face of the turret is gradually and painstakingly ran against the gage block until a slight drag is felt. The length of the square is the separation from the planned part beginning to the essence of the turret (the reference point).
  • This gage block length is deducted from the current MCS Z-pivot position.
  • The coming about esteem addresses the separation from the MCS beginning to the WCS source for the Z-hub and is gone into the work balance page in the MCU.

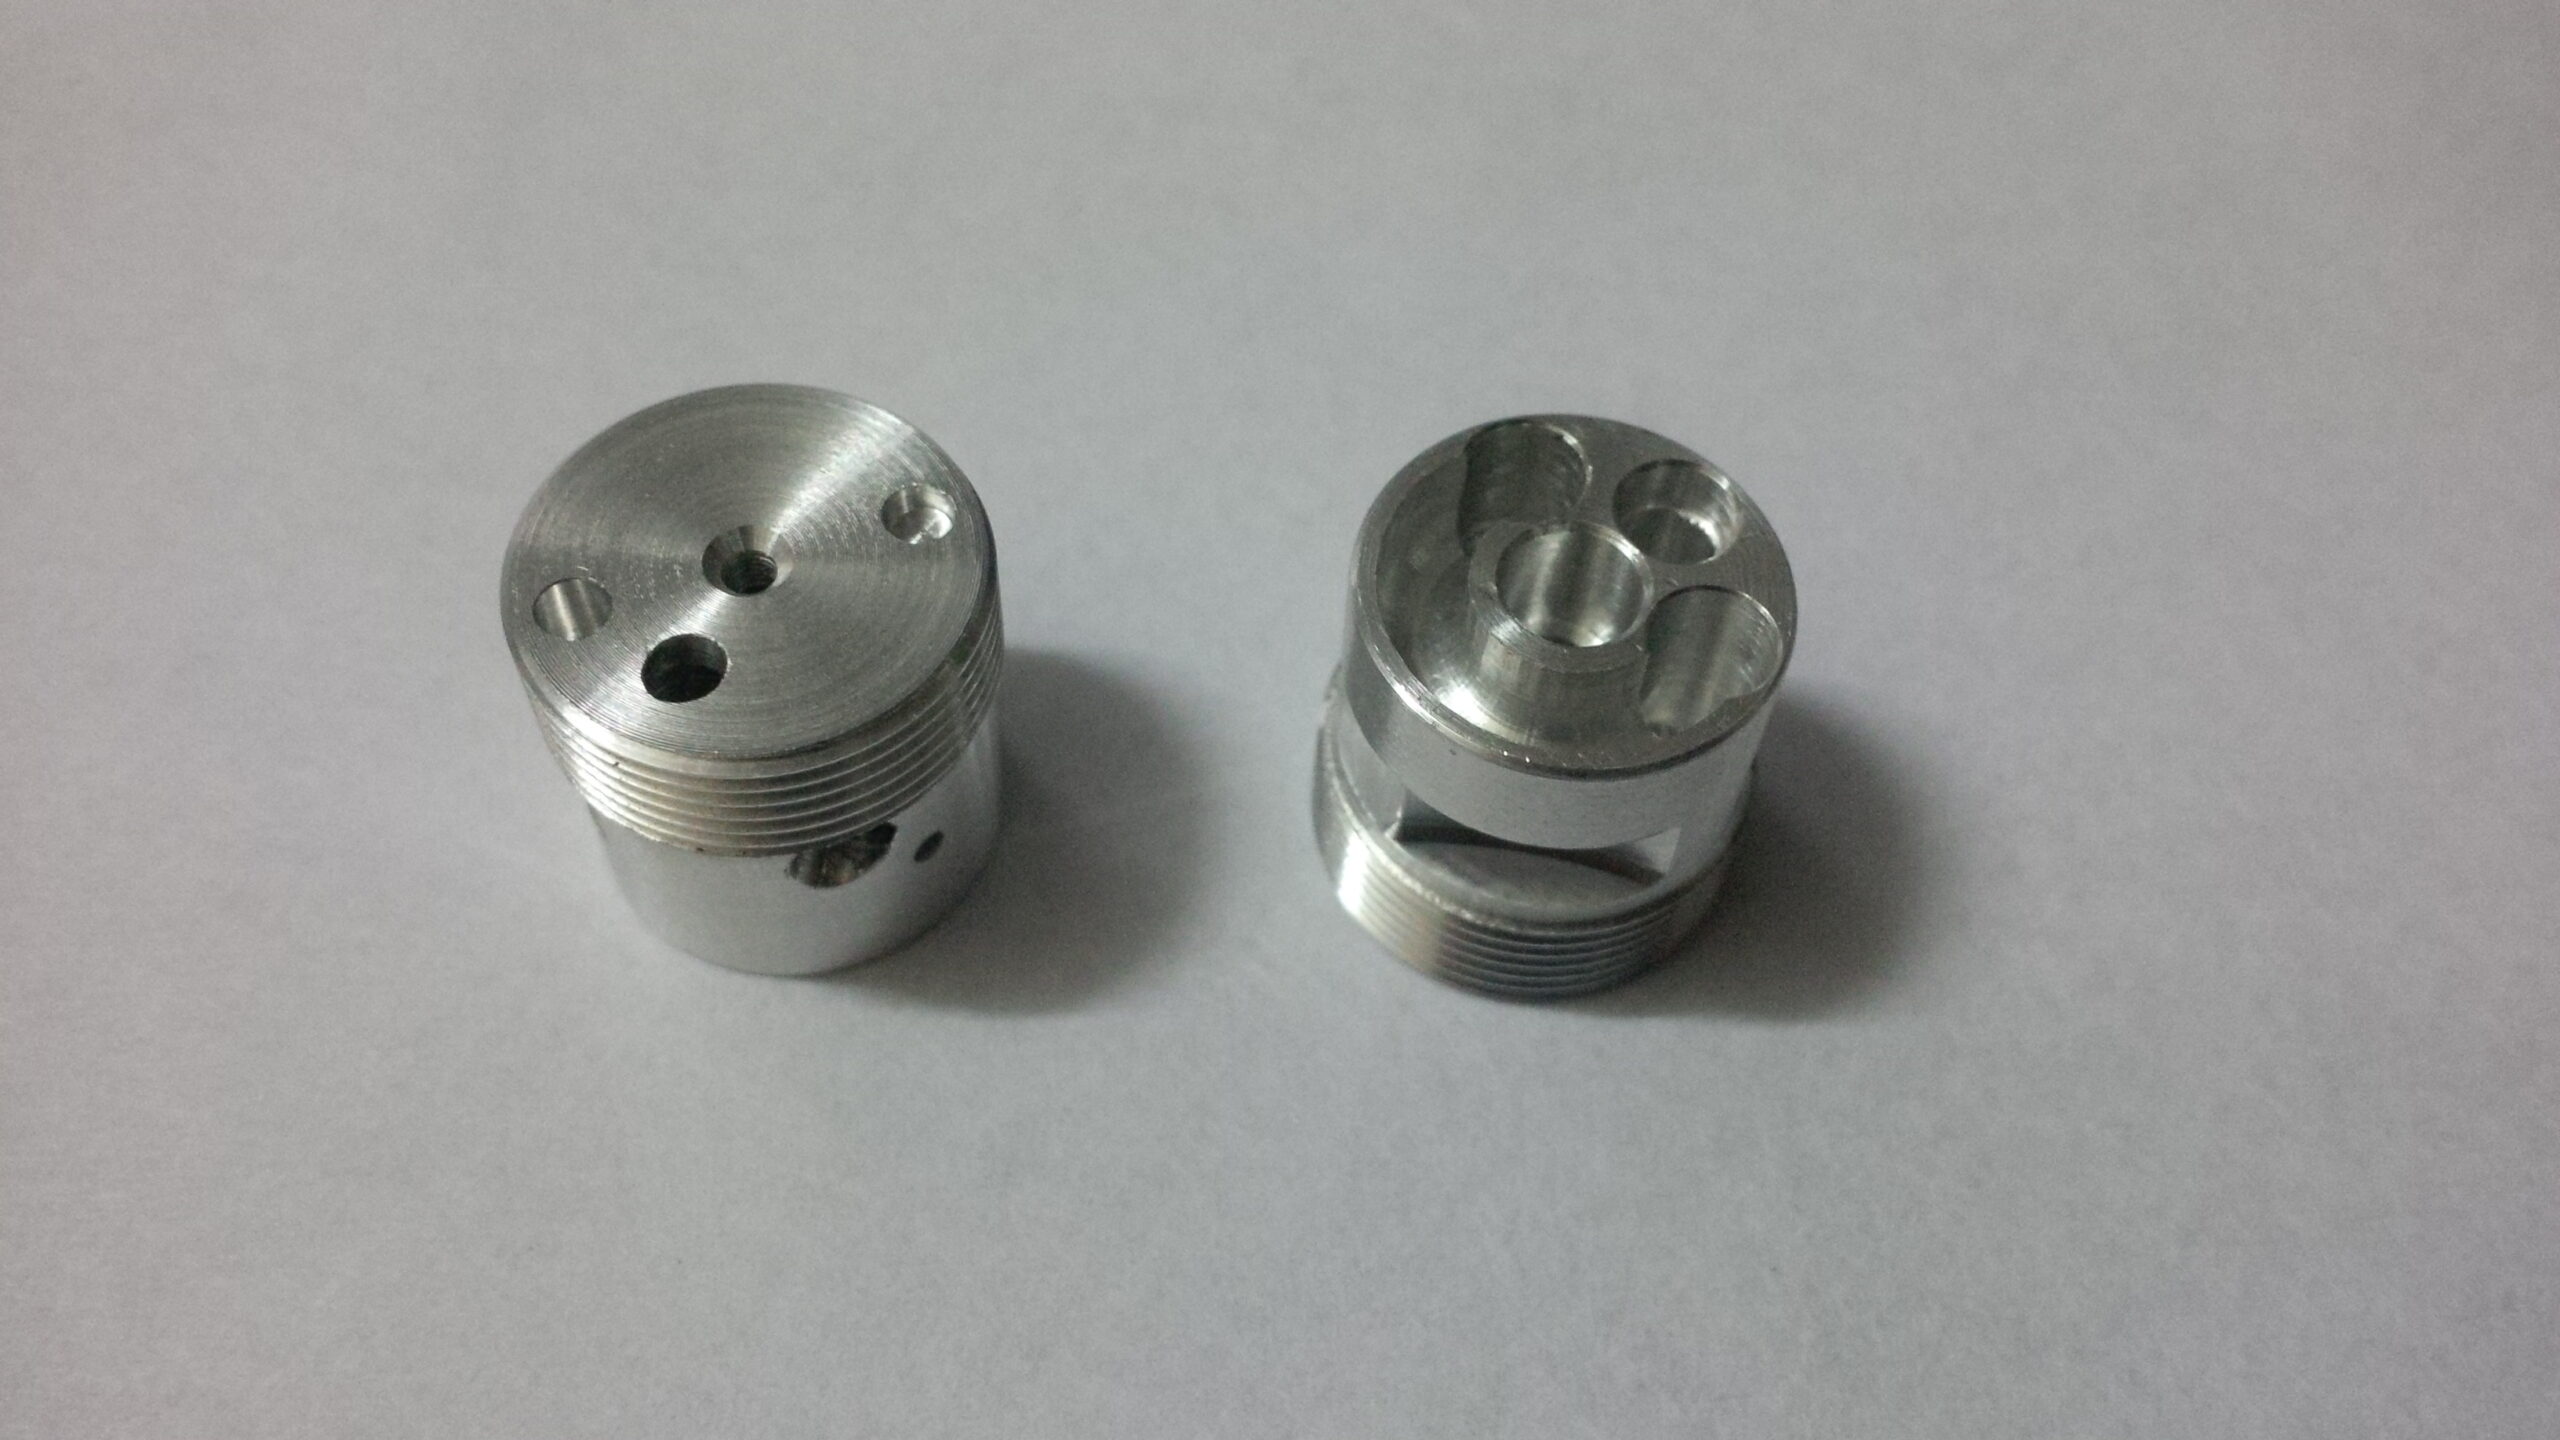
The china cnc machining process supplier shows an illustration portraying the part, gage square, and turret being utilized to set a work balance.

It is a common misinterpretation that the drawtube string commitment affects cinching pressure. The drawtube just sets the size range among open and shut position. Eventually, the grasping pressing factor is resolved exclusively by the machine’s air or pressure driven controller for the collet/hurl nearer framework.

Some turning MCUs such as precision stainless steel cnc turned parts manufacturers utilize a less complex technique, and as opposed to deciding a genuine distance, they simply require a “set Z” catch to be squeezed. The MCU consequently plays out the computation and stores the right an incentive on the work counterbalance page.

Canned Cycle Machining Process

Drilling. reaming, counter boring, and sub-setting tasks can be modified utilizing drilling canned cycles. The G74 drill cycle is frequently utilized on Fanuc turning machines and allows a peck augmentation to interrupt chip stream, forestalling long, tacky chips. The arrangement generally requires two G74 blocks. The peck augmentation is indicated with a Q-esteem. A Q-estimation of 0.25 would make the instrument withdraw once for each 0.25 of in-feed.

A few machines don’t permit a decimal in the Q-esteem and follow a 4-place design. For this situation the 0.25 would be entered as Q2500. A R-esteem determines the sum the device will withdraw after each peck. The all out supreme Z-profundity is customized as a negative an incentive in the G74 block. The customized Z-profundity should represent the length of the drill tip. Programming to accomplish a 5/16″ measurement opening that is 1.125″ profound.

On the off chance that commotion in a solitary pass without any pecks, a canned cycle is regularly not utilized, yet it is conceivable to utilize the G74 cycle if the Q-esteem is set equivalent to the full Z-profundity. With all drill cycles, the drill ought to be positioned toward the beginning area of the opening with freedom in the Z-direction when the cycle is imitated The drill will automatically re-visitation of that position toward the finish of the cycle china 4 axis cnc machining service suppliers shows a Fanuc program for performing a G74 holemaking cycle with pecks.

Boring Canned Cycles for Haas

Haas offers three different drilling canned cycles for turning machines: a G81 for a solitary pass (no peck), a G82 for single pass with a stay, and a G83 for peck drilling with a full withdraw. The complete total Z-profundity is customized as a negative an incentive for all cycle. At the point when an instrument should cut cleanly at the lower part of an opening, the G82 cycle is utilized. This cycle delays the device toward the end Z position when a P.value (number of milliseconds is indicated.

When utilizing a G83, the peck addition is determined with a Q-esteem. A Q-estimation of 0.25″ would make the apparatus completely withdraw once for each 0.25* of in-feed. A R-esteem determines the position the device will re-visitation of toward the finish of the cycle. Pecision cnc machining service factory shows a Haas program playing out a drilling cycle with a solitary pass (no pecks).

cnc precision machining company shows a Haas program playing out a drilling cycle with pecks. The table beneath shows the organizations for each drilling cycle referenced.

Tapping Canned Cycles

Understand that a tap is stiffening During tapping, the machine tomahawks just position the tap and follow along as the tap is pulled in to the work. As a tap starts cutting, the shaft turn and the feed should be accurately synchronized with the goal that the tap doesn’t tie and break under strain. A CNC machine has no sensitivity and can’t feel resistance or front when tapping. As the tap moves toward its end position, the machine should decelerate axle speed and feed proportionately with the goal that both stop promptly when the tap arrives at the last profundity. Fill the tap should converse to withdraw from the opening. Since the tap is fully occupied with the work, the shaft speed and feed should proportionately quicken to withdraw the tap from the opening without breaking.

A tap propels into the work one string for every unrest (for single lead strings). Accordingly, the feed rate per insurgency is equivalent to the essence of the tap.

This article is from http://www.tinymachining.com

Rapid Traverse

Fast navigate developments should be performed cautiously in a CNC going machine to forestall crashes. Uncommon consideration should be paid to the shifting lengths of the cutting apparatuses and that they are so near other machine parts and the workpiece. Another thought is the area of the device before and toward the fruition of the fast developments. For example, if the instrument is an ID working apparatus, be certain it is withdrawn from the ID of the part preceding making a quick movement in the X-pivot or moving to a device change position. As an instrument moves toward the work, likewise be certain that there is a lot of leeway to forestall an impact. The cutting apparatus ought to never contact the workpiece during a quick navigate development.

Direct interjection synchronizes the movement of (at least one) tomahawks to move the instrument in an orderly fashion. For china precision machining parts suppliers to create a straight line, the machine should begin moving every hub at exactly a similar time, move them at the proper feed rate, and quit moving the two tomahawks at the objective simultaneously.

To move the apparatus in a direct way on a turning place, a G1 is told alongside the directions for the end position of the development. A feed rate should likewise go with the recently customized position. Machine feed rates are communicated in the G1 block with a F-character followed by a feed esteem. A feed rate order is modular and in the event that one isn’t customized in a square, at that point the last modified rate stays dynamic.

Feed rates for CNC turning can be in either inches every moment (IPM) or inches per upset (IPR). IPR is more normal for turning. A modular G-code should be modified to set the machine control to the proposed units. On numerous machines a G98 is utilized for IPM and G99 is utilized for IPR. It is a decent practice to incorporate the ideal setting for the feed rate units toward the start of the program in the protected beginning square. cnc machining turning parts manufacturers shows an illustration of a basic direct movement between two focuses and the comparing program code.

Roundabout Interpolation for Turning- – G2 and G3

CNC turning focuses can likewise make round movements (called bends) with the device tip for machining fillets and radi. To program a curve, the instrument should initially be situated toward the beginning point where that circular segment starts. Once there, a G-code is given to demonstrate whether the curve heading is clockwise or counterclockwise. On the off chance that the curve turns clockwise from begin to end, a G2 code is utilized. On the off chance that the bend turns counterclockwise, a G3 is utilized. On most turning habitats the cutting device is on the rear of the workpiece and a G2 will make a sunken range and a G3 will make a raised sweep (corner round).

cnc precision machining factory shows a marked illustration of the significant pieces of a circular segment. It is imperative to get comfortable with every one of these parts prior to programming. Preceding cutting the bend, the cutting instrument should be situated at the curve’s beginning stage with a standard G1 or GO. After the device is in position, the code for the curve course is given and the software engineer should recognize the end point where the bend stops (recollect that the instrument is now starting toward the beginning point). Data about the circular segment’s size should be given in a similar square of code. There are two strategies for programming the size of the circular segment: programming a span esteem and recognizing the bend’s middle point area.

This article is from http://www.tinymachining.com/