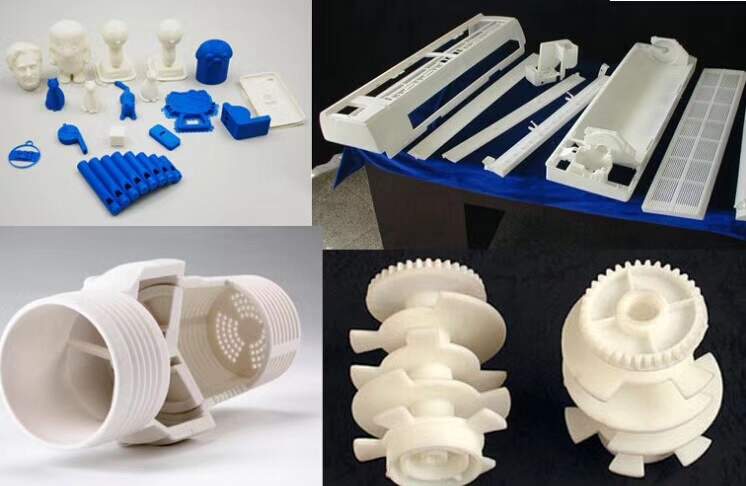
After the initial four sides have been processed square and equal, one of two strategies is utilized to square the two leftover sides of the china high precision cnc machining metal mechanical parts.
Strategy 1
- The square can be mounted freely in the tight clamp with one end looking up.
- The light emission strong square can be set on the bed of the tight clamp or on the machine table, and the side of the workpiece lined up with the cutting edge of the square.
- After clipping, sensor stock can be utilized to check for holes between the vertical workpiece surface and the cutting edge of the square.
- Mill the surface utilizing a similar face processing steps used to machine the initial four sides. This surface can be called Side E.
- Remove the square from the tight clamp, deburr the sharp edges, and check for opposietness.
- Place this recently machined surface down in the tight clamp and situated on equals so the contrary surface can be processed.
- Machine a cleanup pass and check for parallelism with the lower part of the workpiece prior to processing to conclusive size. Once more, at whatever point conceivable, measure the work-piece without eliminating it from the tight clamp to dodge any arrangement or repositioning mistakes.
Strategy 2
Another strategy for squaring the closures is to mount the square in the tight clamp on equals with one end reaching out past the finish of the tight clamp jaws. The end would then be able to be machined by fringe processing utilizing an endmill by china edm machine manufacturers.
The length of the cutting bit of the endmill should be somewhat more than the thickness of the workpiece and the width should be enormous enough so it doesn’t flex under cutting tension. A decent practice is to restrict length to around multiple times the measurement of the instrument.
- Mount the work in the tight clamp by putting it on equals and seating with a dead blow hammer.
- Select and mount an appropriate endmill.
- Calculate and set a suitable shaft speed and feed rate (if power feed is accessible).
- Use the plume and knee to position the endmill vertically as appeared in china aluminium machined parts. Make sure to bring the plume stop against the micrometer changing nut and lock the plume.
- The X-hub is ordinarily used to set profundity of cut, and the Y-pivot is utilized to play out the processing passes.
- Conventional processing should be utilized to take roughing passes, and climb processing should be performed distinctly with a light cut for a completing pass, so remember that when situating the endmill toward the start of the cut. See precision machining parts suppliers china for an illustration of certain instances of how to position the endmill for regular and climb processing.
- Start the shaft and carry the endmill into light contact with the edge of the workpiece utilizing the X-hub to “ignite” the device.
- Seta”0″ reference utilizing the micrometer collar or DRO.
- Use the Y-hub to move the endmill away from the part.
- Set profundity of cut utilizing the X-pivot and afterward lock it set up to forestall development during the processing pass. Eliminate simply enough material to tidy up the surface on this first side.
- Apply cutting liquid and draw in the force feed or move the Y-pivot physically to play out the ordinary processing pass.
- Use the Y-pivot to criticism over the surface at a more slow rate to take a completing trip processing pass. high precision surface grinder manufacturers china shows these processing steps.
- Remove the square from the tight clamp, deburr it, and check for square.
- Place the square in the tight clamp with the furthest edge reaching out past the jaws and rehash the cycle to tidy up this last side.
- Seta “O” on the micrometer collar or DRO to set up a reference position.
- Machine roughing passes utilizing traditional processing inside about 0.010″ to 0.020″ of definite size utilizing the micrometer collar or DRO to set cut profundity.
- Take an ascension processing pass of about 0.005″ to 0.010″and reevaluate size.
- Take one final ordinary processing and climb processing pass to process the square to the ideal last measurement.
- This article is from http://www.tinymachining.com